")
")
Introduction
OpenVPN is an open source software for creating a virtual private network (VPN).
OpenVPN allows peers to authenticate with each other using a pre-shared private key, electronic certificates, or username/password pairs. It is based on a client-server mode of operation. Whether an OPNsense is defined as a client or as a server will not change anything from a network point of view. It also makes extensive use of the OpenSSL authentication library as well as the SSLv3/TLSv1 protocol. Available with a multitude of environments such as Solaris, OpenBSD, FreeBSD, NetBSD, Linux (Debian, Redhat, Ubuntu, etc.), Mac OS X, Windows 2000, XP, Vista, 7, 8 and 10, it offers many security and control features.
OpenVPN is not compatible with IPsec or other VPN software. The software contains an executable for client and server connections, an optional configuration file and one or more keys depending on the chosen authentication method.
This article shows how to create a site-to-site connection using OpenVPN and how to route the network traffic between site A (client) and site B (server) with OPNsense.
Desired VPN blueprint

Our client computer has IP 10.10.9.9 and is therefore in the local network 10.10.9.0/24.
The goal is to be able to connect to the OPNsense02 LAN network 10.10.10.0/24 through OpenVPN.
In our case, the pfSense routers will run OPNsense.
OpenVPN server setup

Navigate to VPN > OpenVPN > Servers in the left pane. Click the ![]() button to create a new OpenVPN server.
button to create a new OpenVPN server.
Configure the following settings:
- Description : Description for this VPN. Appears in various places where the VPN can be chosen from a list, such as VPN > OpenVPN > Connection Status or Interfaces > Diagnostics > Packet Capture.
- Server Mode : Peer to Peer (Shared Key).
- Protocol: UDP - TCP is not suitable for a VPN because in the event of packets losses, these must be retransmitted. This is not necessarily desired. The result would be a slowing down of the VPN link due to a strong packets re-transmission. TCP is mainly used to get around firewalls that filter out all destination ports except TCP 443 for HTTPS. In such case, the local port must be set to 443. The protocol must match on each side.
- Device Mode : tun
- Interface: Depending on the server interface used for incoming connections. The WAN interface is used most of the time but it can be an OPT interface.
- Local port: This is the OpenVPN server listening port. The default port is 1194 for OpenVPN. Each server requires a unique port. Ensure not to use a port already in use by another service or problems may arise. If you are using port 443, ensure the web interface is not already using that port number.
- Shared Key: Keys can be created in the GUI. Check the box "Automatically generate a shared key.", then the key will be generated when the settings are saved. You will have to copy / paste it toward the client.
- Encryption algorithm: This parameter must be the same on both sides. The choice of algorithm is less extensive when using a VPN Peer to Peer (Shared Key). AES-256-CBC is a good choice with a router such as the Noah V2.
- Auth Digest Algorithm: This setting must be the same on both sides. The default algorithm, SHA1 (160-bit) is insecure since 2020 and it is better to choose SHA256 (256-bit).
- IPv4 Tunnel Network: IP on which the VPN will run. The default value set in the GUI of 10.0.8.0/24 is enough, but using a random network inside the RFC1918 space is advised. For site-to-site tunnel, only a /30 is used, not the full /24 even if /24 is specified.
- IPv6 Tunnel Network: You do not need to enter anything here if you are not going to use IPv6 to connect through the VPN.
- Redirect Gateway: Do not check. This is an option used for a client-server VPN only.
- IPv4 Remote Network: Enter the LAN network on the client side here. To access more than one network, add them all here, separated by a single comma and no spaces (eg 10.10.9.0/24,192.168.9.0/24 ).
- IPv6 Remote Network: Again, there is no need to enter anything here if you are not going to use IPv6 with the VPN. If yes, enter the LAN on the client side here. For more than one network, add them all here, separated by a single comma and no spaces.
- Concurrent connections: Not necessary and can be left blank.
- Compression: Enables LZO compression on all flows passing through this VPN tunnel. If the bulk of the data passing through this VPN tunnel are already encrypted (HTTPS, SSH, etc.), checking this option will only add an unnecessary burden to the packets.
- Type-of-Service: Checking this box indicates to apply on the packets sent by OpenVPN the value of the TOS field of the encapsulated packets crossing the tunnel. This option can be considered a potential security risk. Therefore we cannot recommend its use.
OpenVPN client setup
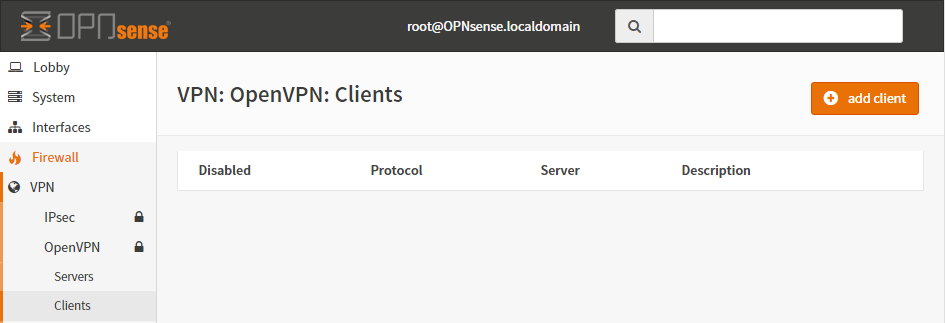
Navigate to VPN > OpenVPN > Clients in the left pane. Click the ![]() button to create a new OpenVPN client.
button to create a new OpenVPN client.
Configure the following settings:
- Description: You can name this VPN.
- Server Mode : Peer to Peer (Shared Key)
- Protocol : Faire correspondre avec le réglage du côté serveur.
- Protocol: Match with the setting on the server side.
- Device mode : tun
- Interface: Interface to use for outbound traffic. The WAN interface is used most of the time but it can be an OPT interface.
- Remote server > Host or address: OpenVPN server public interface IP address or fully qualified domain name (FQDN).
- Remote Server > Port: The port number used by the OpenVPN server.
- Local port: Leave this field blank for a random port. The port of this OpenVPN client will use this value as the source port on its side. Each process requires a unique port. Make sure you are not using a port already in use by another service or problems may arise. Leaving this field blank is the best choice.
- Shared Key: Copy/paste the key from the server. Go back to settings on the server to retrieve the key.
- Encryption Algorithm: Match with server side setting.
- Auth Digest Algorithm: Match with server side setting.
- IPv4 Tunnel Network: Match with server side setting.
- IPv6 Tunnel Network: Match with server side setting.
- IPv4 Remote Network: Enter the LAN network on the server side here. To access more than one network, add them all here, separated by a single comma and no spaces (eg 10.10.9.0/24,192.168.9.0/24 ).
- IPv6 Remote Network: Enter the IPv6 network on the server side here. To access more than one network, add them all here, separated by a single comma and no spaces.
- Compression: Match with server side setting.
- Type-of-Service: Match with server side setting.
Firewall rules setup
Client and server side configuration are complete. We just have to think about authorizing or filtering our flows transiting through our new OpenVPN interface. To do this, go to Firewall > Rules > OpenVPN.
For firewall logs, go to Status > System logs > Firewall.
Inspired by OPNsense documentation.